 Download
dataset here
Download
dataset here
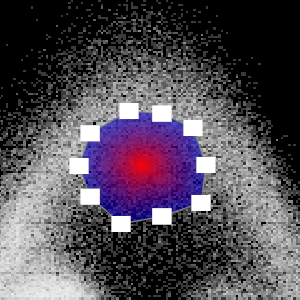
The above is a screenshot of some pyramidal neurons in a marmoset's primary visual cortex, originally labeled
with a green flurescent protein (GFP) after being injected with a pseudotyped G-deleted rabies virus. The tissue
was cleared using the Sca/e technique and imaged on a Olympus 2-photon microscope at 20x magnification, then
rendered using a 2D transfer function.
Project Goal
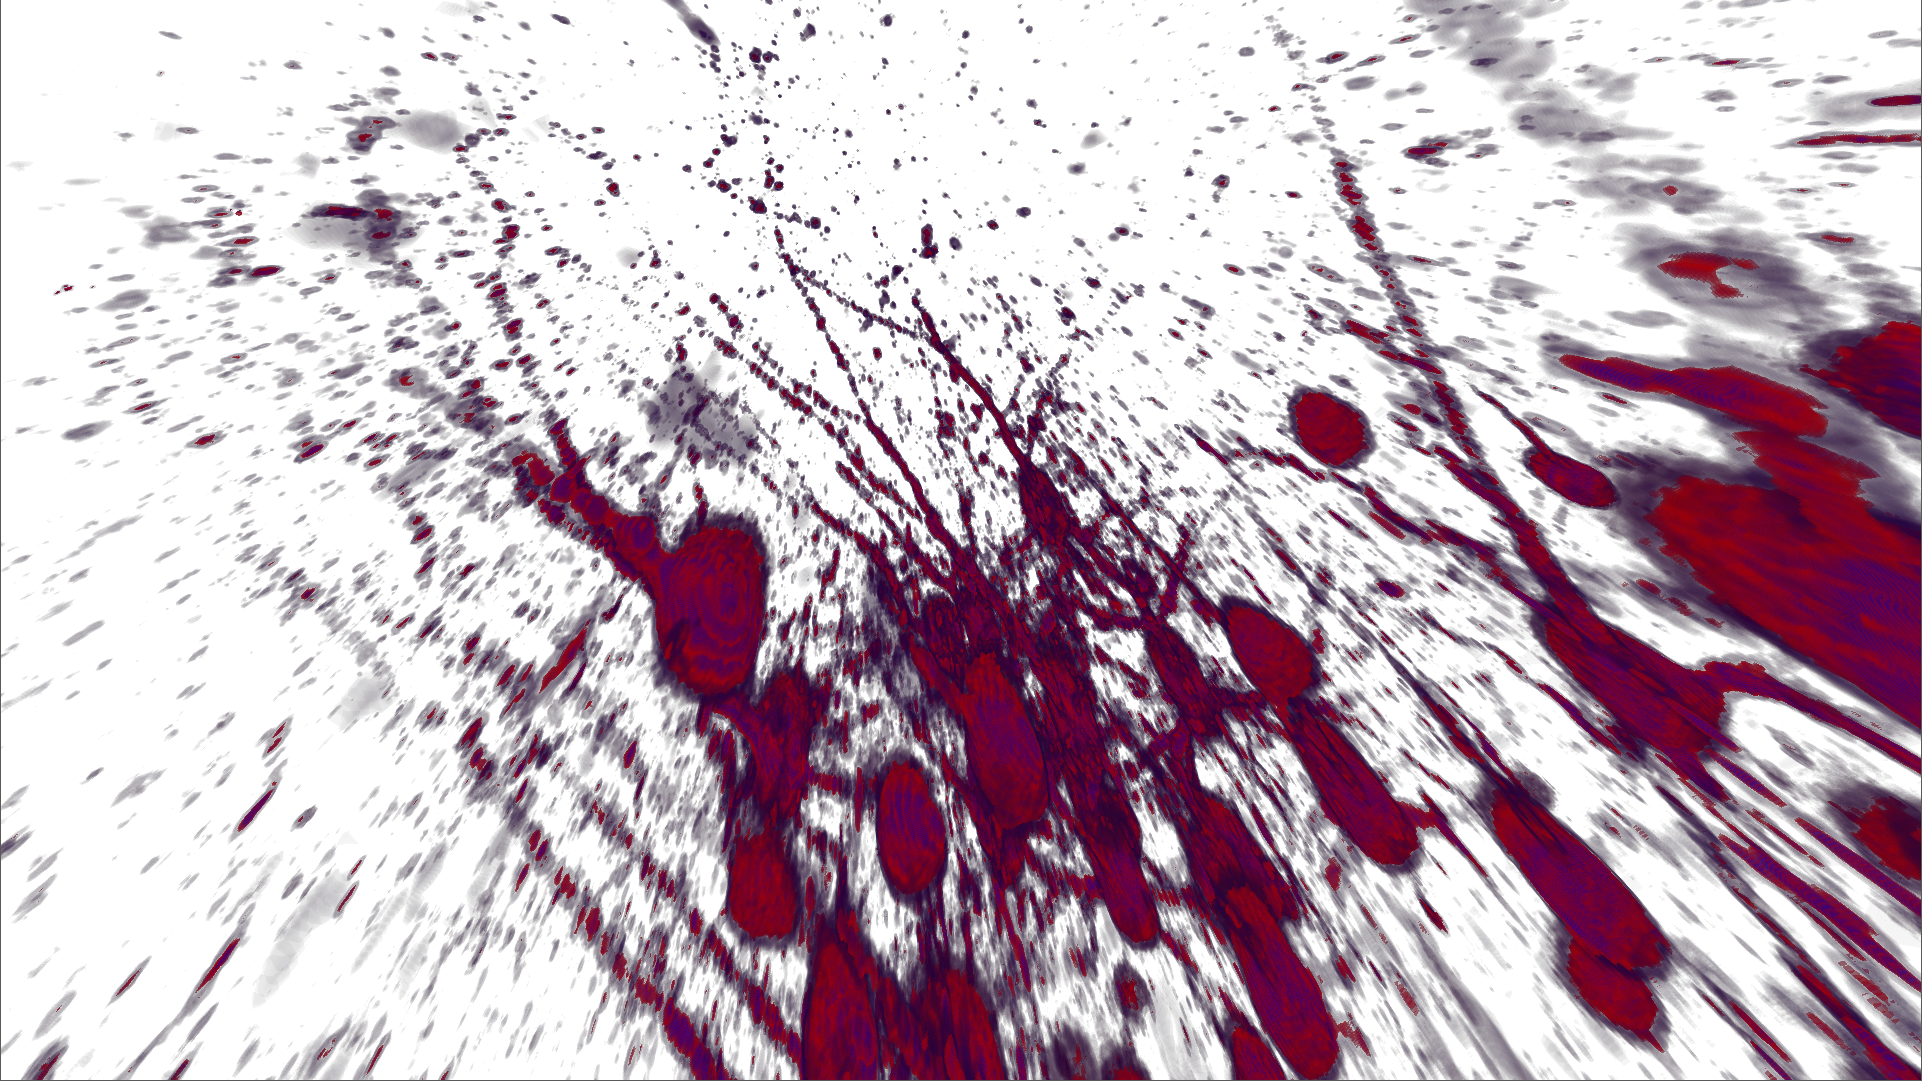
The primary goal of this project was to tackle some of the limitations of one dimensional transfer functions.
Although simple to implement, a one dimensional transfer function fails to differentiate separate boundaries
sharing the same data value. Data exploration is also fairly difficult, since position in the histogram is used
to encode intensity, not a set of voxels, so users cannot sweep over the editor to find what they're looking for.
Luckily, we can solve this problem by implementing a two dimensional transfer function.
One Dimensional vs Two Dimensional Editor
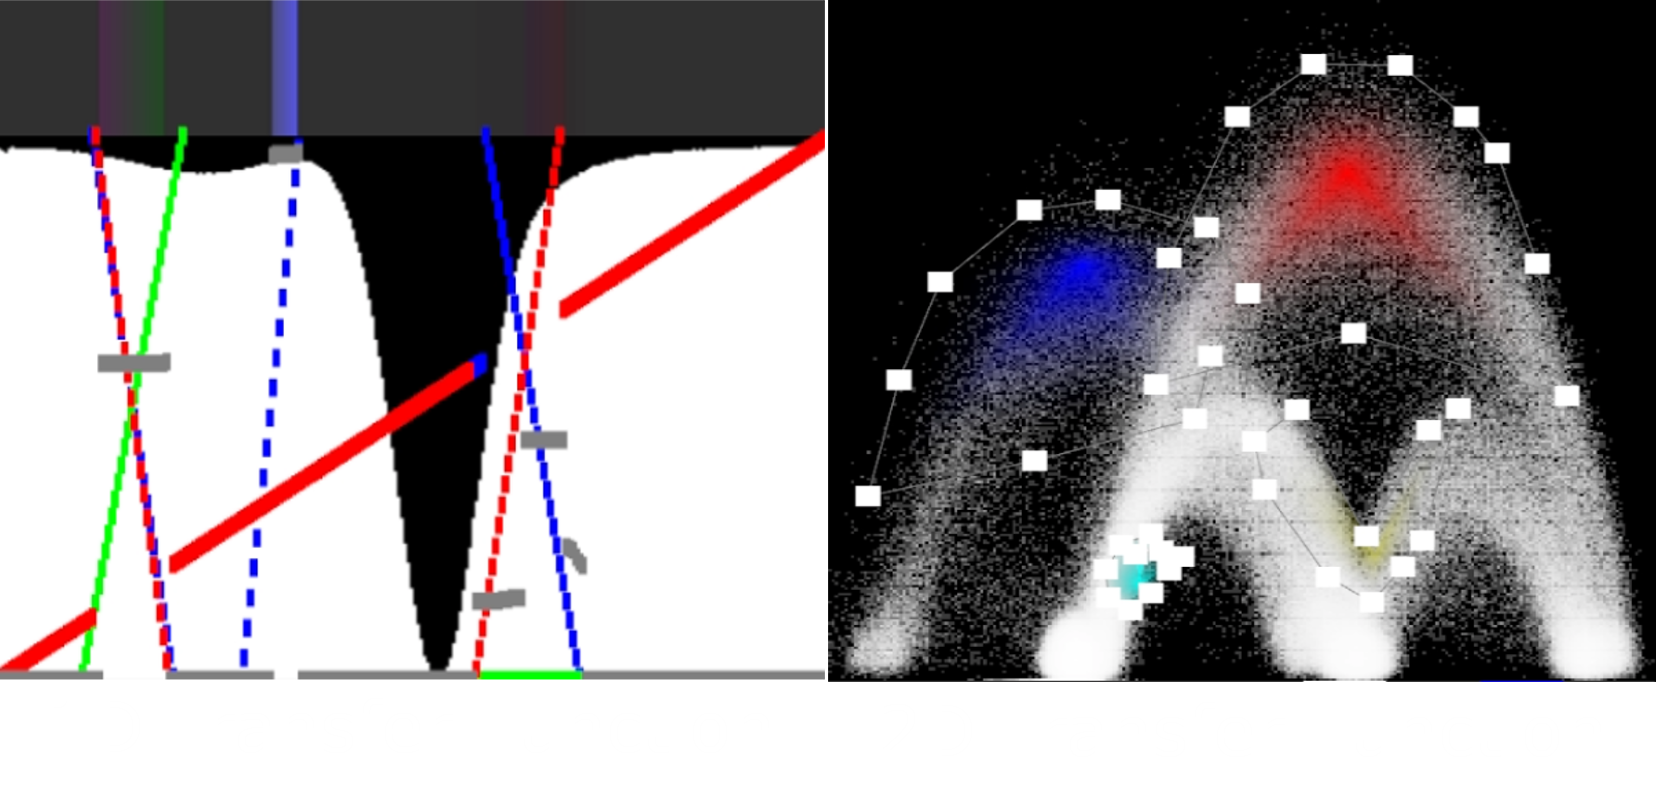
Like in a one dimensional tranfer function, a two dimensional tranfer function plots data values along the
horizontal axis. However, instead of rendering a histogram, we use the vertical axis to plot data values, and
encode both data value and magnitude frequency using a simple matrix chart.
The white regions in the 2D tranfer function show a high frequency of voxels with the same gradient magnitude
and data value. Boundaries occur between the transitions from dark regions to light regions.
Widgets
Like with a one dimensional tranfer function editor, two dimensional tranfer function editors have a texture
which is used as a lookup table and sampled from in the ray casting shader. Widgets are used to paint on this
lookup table texture, changing the rendering volume as they are manipulated.
For this project, I just implemented circular widgets since they seemed to be the most flexible. However, many
implementations have all sorts of shapes which can be helpful for different circumstances.
The centers of these circle widgets and the edges have different color values, which can be controlled using
some simple color slider bars below the editor. This change in color from center to edge allows for easy
selection of boundaries vs sub-volumes. To alter the position of the widget, the user can click and drag on the
center, or drag on the white handles on the edge. Widgets can be added or removed too.
Future Work
I'd like to move this project to work with virtual reality headsets and controllers, since I believe there is
value in being able to truely directly manipulate a volume. To do this, I'd like to look into using hierarchical
Z ordering and adaptive sampling to improve render times.
Known Bugs and TODO
- Buttons could use labels
- Circle widgets could use an "add point" and "remove point" feature to reduce cluttering
- There's a random shift in my volume every now and then. I think something needs to be made atomic.
- I’d like to add a clipping plane.
- I’d like to add support for virtual reality rendering.
Resources Used
C++, Visual Studio 2017, CMake, OpenGL, OpenCL, GLFW, GLM, GLEW
Hardware
Intel HD Graphics 620, Intel Core i7 - 7500U CPU @ 2.7GHz, 16GB of memory
Nvidia GTX 1070